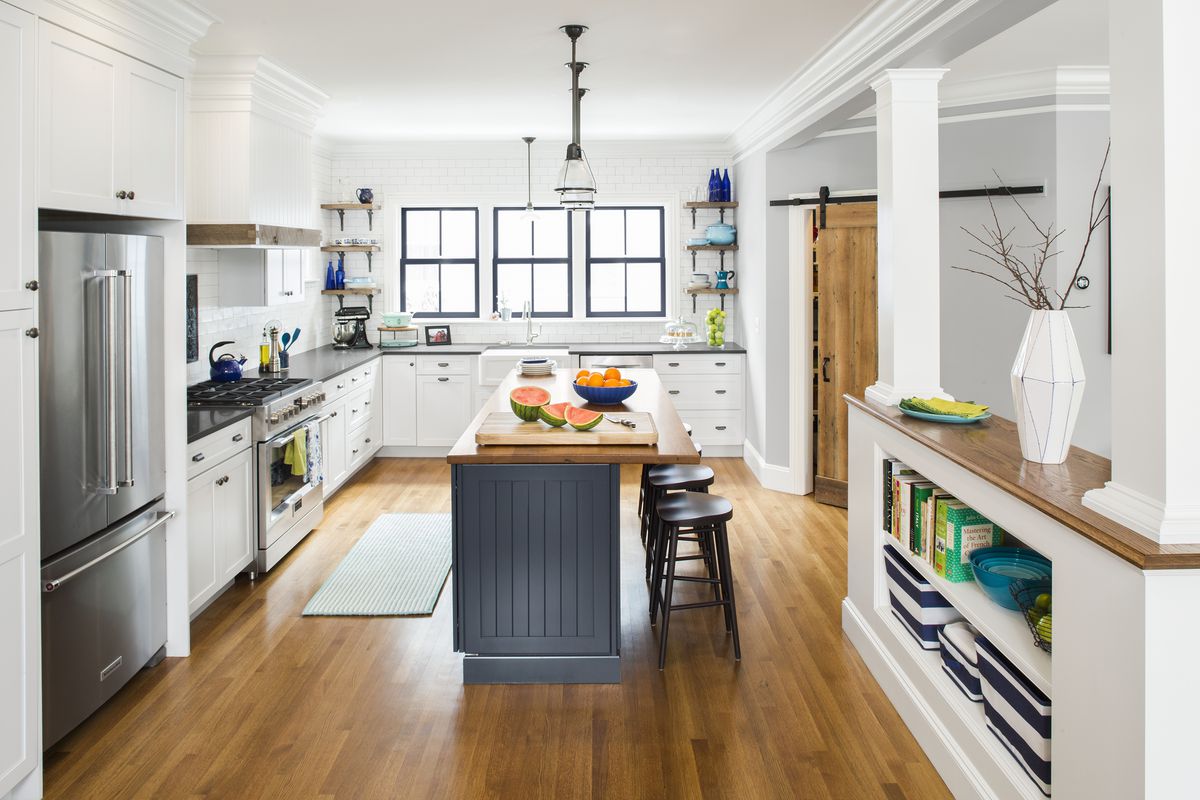
What You Need to Know About DIY Remolding
Before you start a DIY Remolding project, it is important to lay out your expectations. While you and your contractor may have a variety of ideas for the project, it is vital to stay true to your original vision. DIY projects can quickly turn sour if you aren’t careful. What was once a simple fix could end up looking completely different than you had originally imagined.
Costs
The cost of DIY moulding is dependent on the type of material you use and your desired look. If you’re on a budget, you may opt for inexpensive options such as polystyrene, which runs from $0.50 to $3 per linear foot. This type of moulding is easy to install with foam-safe adhesive, but it dents easily and doesn’t provide an elegant look.
Crown moulding installation costs about $80 to $125 per linear foot and includes labor and materials. However, if you’re looking for a more professional finish, you can always opt to hire a carpenter. DIY moulding installation can cost anywhere from two to four hours, depending on the size and profile of the moldings you’re replacing.
DIY crown moulding is also an expensive option. Though you can do it yourself, it’s best to hire a carpenter to install it for you. The carpenter will charge you anywhere from $4 to $8 per linear foot, depending on the type and size of the moulding you’d like to install. Remember to factor in the cost of materials and labor, as well as the quality of the paint. If you don’t have the proper tools, you may find yourself spending more than you planned.
Time frame
Time frame is an important consideration in the DIY molding process. Depending on the material used, the process may take several weeks or months. Several factors affect the time frame, including the material and the size of the blank. If the material is soft, it may not be stable enough to hold the moulding in place.
Before attempting to install DIY molding, be sure to measure the room to be decorated. Measure the length of the molding horizontally and out from the baseboard. Then use a level to ensure that the molding is level. Afterward, use a nail gun to secure the molding to the wall.
Easyness
If you’ve ever dreamed of having a professionally installed molding on your walls, you’ll be happy to know that it’s relatively easy to accomplish yourself. There are a few key steps that you can follow to complete the project successfully. The first step is to make sure you have the correct measurements. You can use a tape measure to find the right distance between molding pieces. Once you’ve found the right distance, you can use a nail gun to secure the pieces to the walls.
According to Finisurfaces You can also make a mold out of a plastic food container. To make a mold, cut a small piece of the bottom off of the container with a craft blade. This will form the top of the mold. The plastic food container should be large enough to hold the object you’d like to mold. Next, use a finger along the rim of the container to create a tight seal. You can’t have any gaps, as these will let the silicone spill out. If you’re installing a large portion of the molding, you can also use a pneumatic nail gun.
After identifying the dimensions of the molding, you can cut it to size. A miter saw or miter box is a handy tool for this. When cutting molding, use a 45-degree angle, with a thicker side of the molding facing outward. The thinnest side should be shorter than the other.